
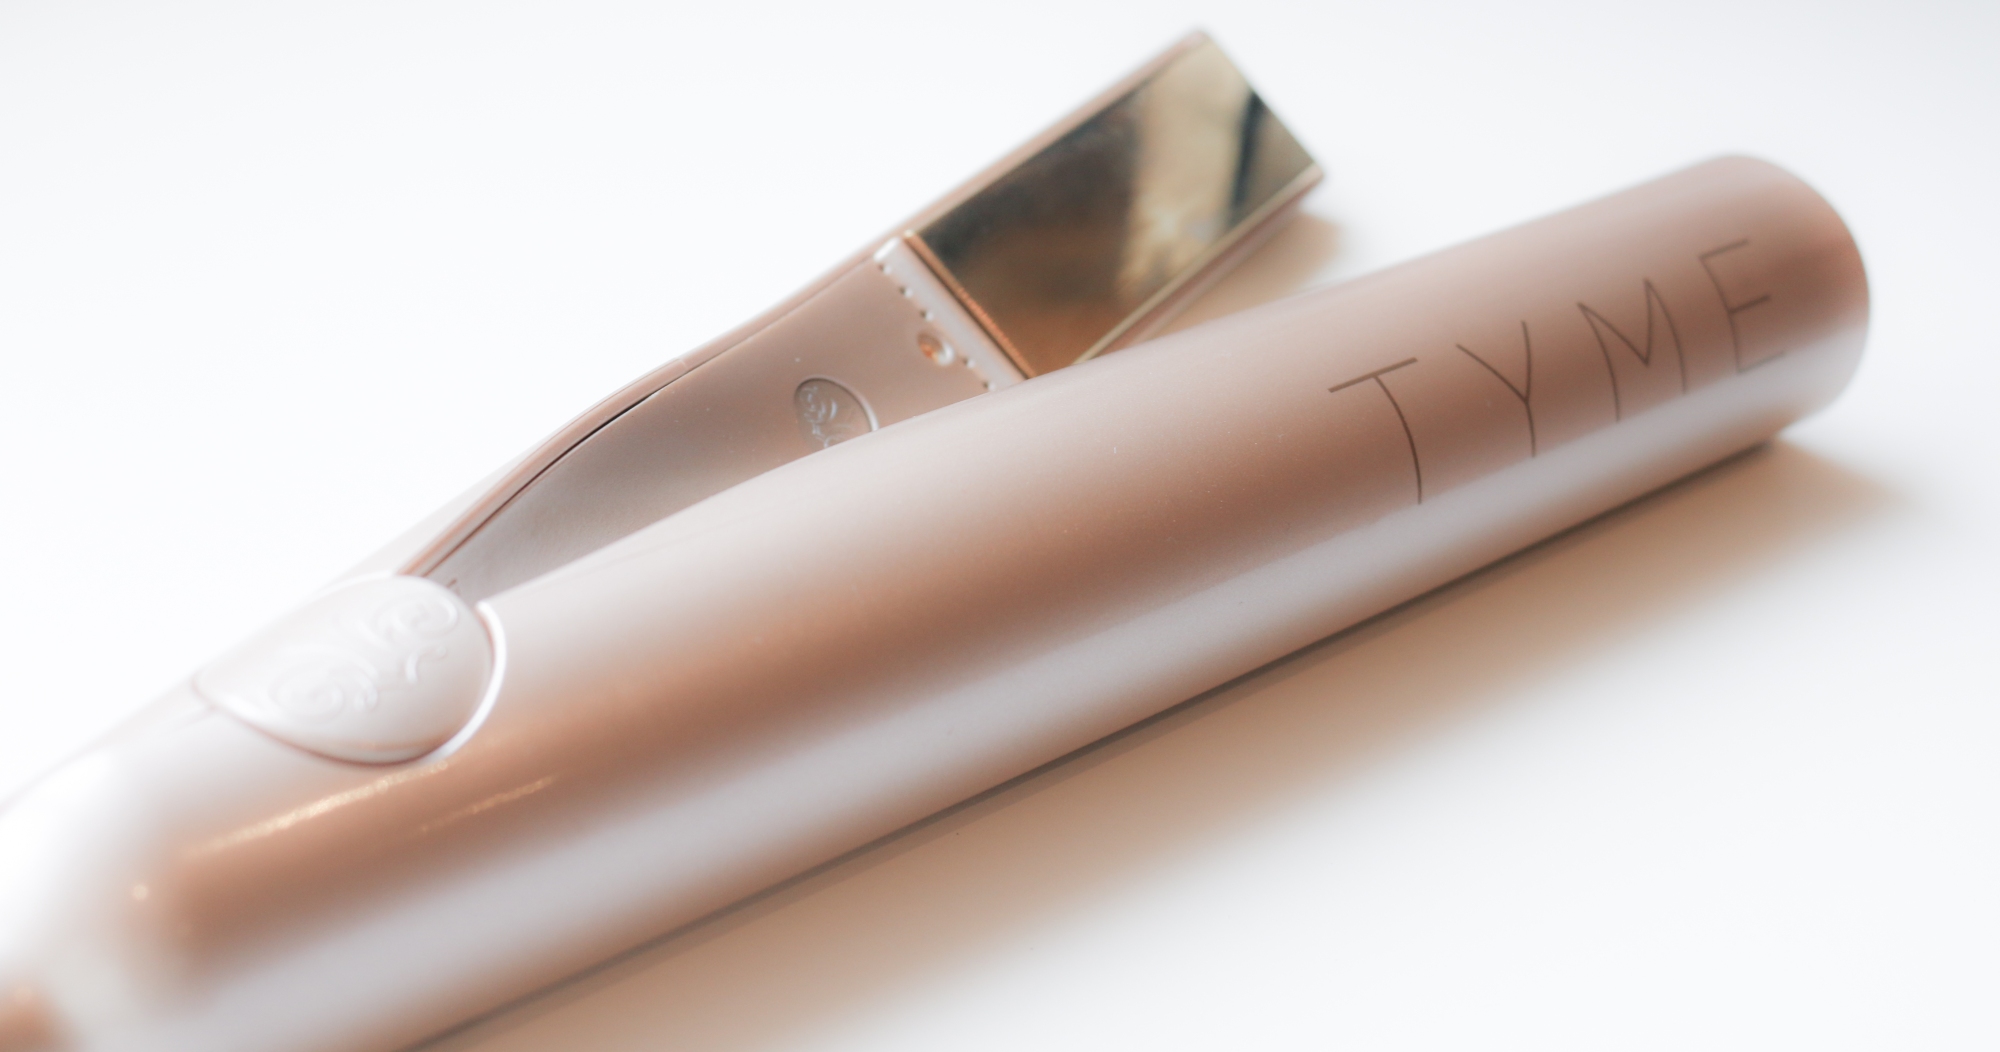
A little while ago the lovely people at Tyme sent me their gorgeous curling iron to try out, and honestly its been a life saver. I have tried for years using other straighteners and curlers with little success, so when I saw these quirky rose gold beauties I knew I had to give them ago!
The innovative design enables you to both curl and straighten your hair by just simply changing the movement of your arm. So, no more detachable heads that can become lost or damaged. Another helpful addition is the Tyme heat sleeve (Free) which is a handy jacket that the iron can be placed in to cool down and transport. All good, hey!
Tech Specs:
- 400° Fahrenheit / 204° Celsius
- Gold Plated Titanium Plates
- Salon Quality
- Rotating Swivel Cord with combination EU and UK plug
Not to mention the beaut design and guidelines to show you how to hold the iron to achieve the best looking curl. If the curling technique doesn’t come so naturally, the Tyme team will arrange a session with a Tyme stylist who will be able to show you the ropes over skype or facetime etc, which should clear up anything you are unsure of!
STEP BY STEP
- Turn on your Tyme curling iron and leave until the blue light stops flashing.
- Prepare your hair with curling product, I like to use the Bumble and bumble Curl pre-style primer and the Kevin Murphy Anti Gravity spray (or another light weight product). Section hair, I usually separate my hair into 4 on a good day but if I’m in a hurry ill split my hair in half and work from back to front.
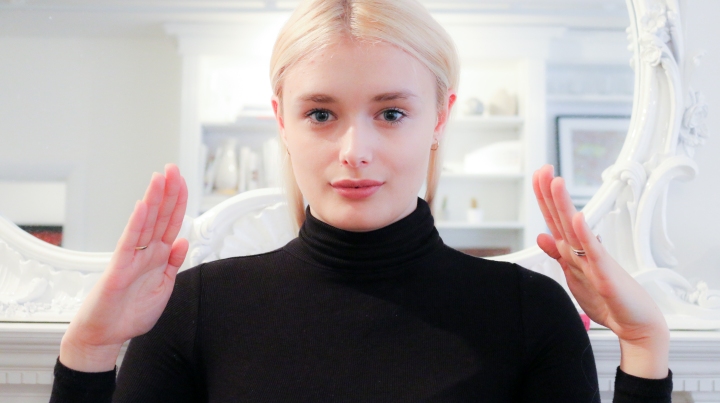
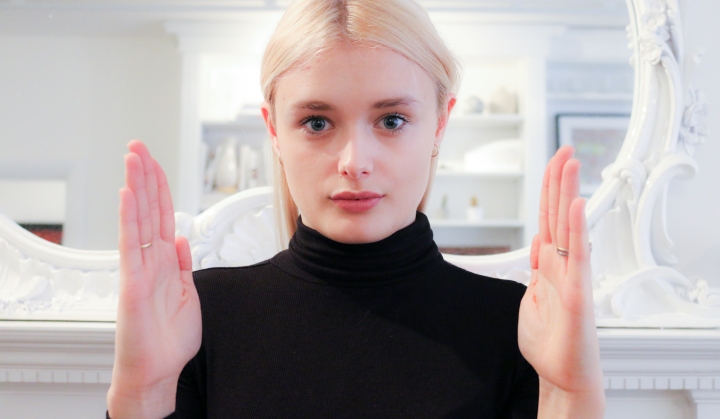
- Place the curling iron in your hand and make sure your thumb is behind the blue light.
- When working on the left side of you raise your elbow above your head (if you are right handed) and place the guide lines closest to your scalp (the two purple lines, one on each side of the iron). Clamp down on the hair, but not too tightly that hair becomes hard to pull through, twist your wrist and glide through to the ends of the hair.
- .On your right side leave your elbow down, again place the guidelines closest to your scalp and clamp. Rotate your wrist and glide your hair through.
- Once the hair has been curled, twirl your hair and set with hairspray.
- Continue through out all the sections and double check all the strands are perfectly curled.
- If you are looking for a looser wave gently brush through with a wide toothed comb or your fingers once the curls have fully cooled and set.
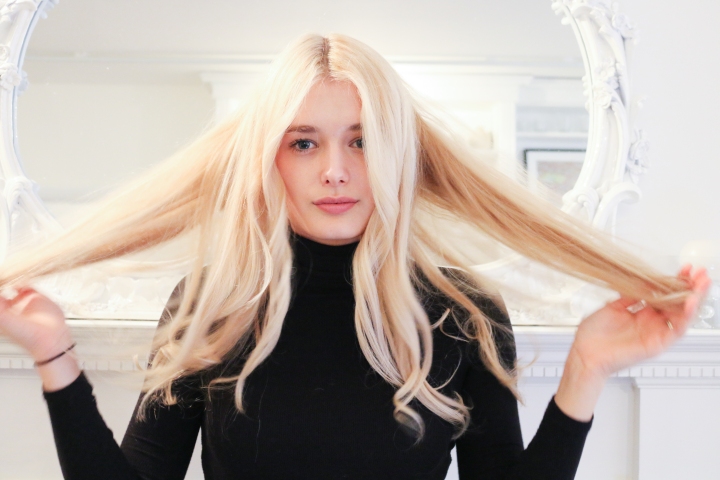

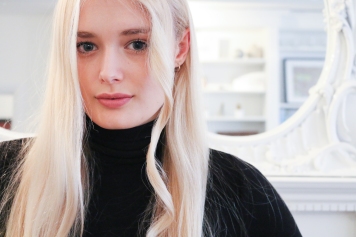
ET VOILÀ
Beautiful curls with a beautiful curler!
TOP TIPS
- For a tighter curl simply increase the rotation and in comparison for a looser curl rotate less.
- Go slow – to achieve a long lasting curl take your time. If you are worried about heat damage, simply loosen your grip and allow more room between the plates.
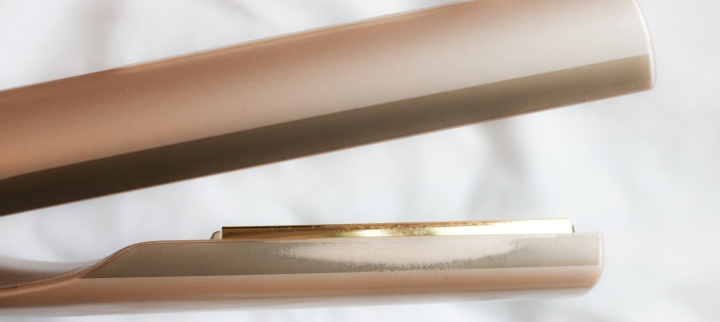
- You will know that you are clamping too hard as the guidelines will begin to smudge and wear off, that’s what has happened to mine! So now I take more time and loosen my grip.
- Avoid oils and heavy shampoos.
- Let the curls cool before brushing them out
- Use the goal post and roof top method to achieve different styles
Roof top angle – More barrel like curls
When curling glide the curlers away from your roots, so that the hair creates the angle like a roof top.
Goal post angle – More ringlet like curls
Where as when using the goal post method pull the hair straight down.
Here is the comparison between the two different styles of curls.

Featured Links
- TYME IRON http://www.tymestyle.co.uk
- Kevin Murphy Anti Gravity spray http://kevinmurphy.com.au/product/anti-gravity-spray /Bumble and bumble Curl pre-style primer http://www.boots.com/en/Bumble-and-bumble-Curl-pre-style-re-style-primer_1810901/
- Wide toothed comb http://www.boots.com/en/Mark-Hill-Detangle-Comb-With-Moroccan-Argan-Oil_1808939/